Tag Archives: MAME

MAME Cabinet Project Update – It’s Alive!

It’s been a few months since my last upate, after picking up this project in November 2011. In the last update I was assessed the state of the machine components I had been collecting and revisited the half-finished cabinet. I’m on the home straight, with much of the major construction work done already, I now need to assemble all of the elements of the MAME machine.

Rebuilding the Control Panel
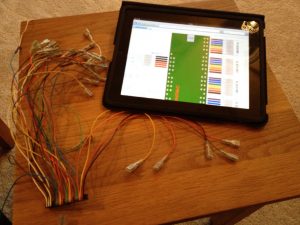
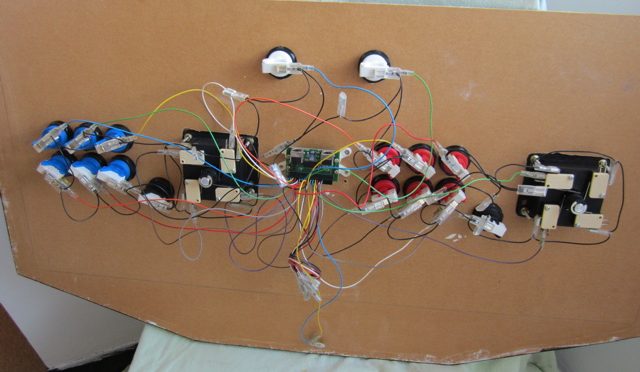
Rewiring the loom for the Minipac encoder

I thought that my control panel was complete after the last update, but after plugging into the Dell desktop I am using to host the MAME software, I found that the keyboard encoder was no longer working.  This model used the old style PS2 keyboard interface, and I think the Dell was struggling with it under Windows XP, so I took the decision to replace with a new “Minipac” encoder from Ultimarc with a USB connector.

Unfortunately this required a different wiring loom to the one I had installed, requiring a trip to Maplins for a new PCB connector and a comprehensive rewire.  In hindsight I probably should have replace the whole wiring loom as well, but I did get a cetain satisfaction from completing the rewire.

 Attaching Control Panel to the Cabinet
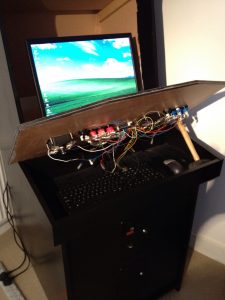
MAME Cabinet with Control Panel Lifted

With my shiny new Minipac in place, and the wiring complete, it was time to attach the control panel to the main cabinet.  I had previous created a box to fit beneath the control panel to allow for easy access to the controls for maintenance, and also to store the keyboard and mouse which are needed (at least until I fit a decent MAME front end software) to operate the PC.  I had cut a large hole in the back of the box which allowed the cables for the Minipac, the keyboard and the mouse to feed down to the PC in the main cabinet.

All seemed to fit together well, but I realised I still need to fit some kind of latch to hold the panel open for when I need to work on it (a hammer does just fine for now). I also need to fit the T-Moudling along the edge of the control panel, which I can do later as I have already routed the groove needed to hold the moulding in place. I haven’t routed the edge of the cabinet yet, which I may come to regret later as this is a messy job, but that’s a problem for another day.

Install MAME Software and Test
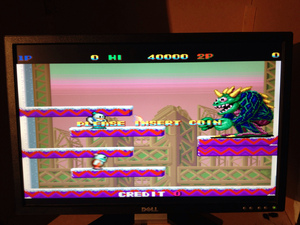
MAME working! Screenshot is of Snow Bros

Before I could test with MAME, I needed to program the control panel to make sure all the buttons were mapped to the keyboard inputs correctly.  Ultimarc provide a really good utility for this, and it’s also a good way of testing that all of the wiring to the Minipac has been effective.   After mapping to my specific panel, and addressing some loose wires, the controls seemed to be working and registering key presses and joystick movements.

I had not downloaded the MAME software on this PC yet, so I needed to access the latest version from the MAME website.  Not only did this give me a chance to try out the keyboard and mouse in place under the control panel, but also the cheap wireless card I had fitted to the PC, to save messing about with transferring files manually.

I soon had the MAME software working, and located a couple of ROMs to test the interface, starting with Phoenix (my all time favourite arcade game) and Snow Bros.  After a bit of fiddling around under the keyboard to enter a credit (I don’t have the coin door working yet) I was ready to go!

After waiting so long (remember I started this project back in 2004) it was great to finally be using the cabinet, and it felt fantastic. The height and positioning of the controls seem perfect, and the feel of the joystick and buttons 100% authentic. At this stage it would be very tempting to just load up my favourite ROMs and start playing, but I have a few more jobs to do now and a renewed enthusiasm to complete the build.

Building the Coin Door
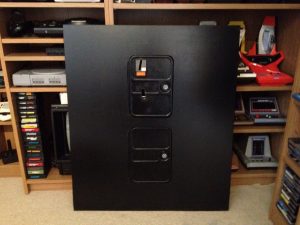
MAME Coin Door
Front Panel with Coin Doors in Place

I had previously purchased a pair of coin doors from eBay, so these just needed to be tidied up with a bit of sandpaper, and some Hammerite added in places to address a bit of corrosion.  The doors would be permanently embedded in the front panel, but not designed to open as I would be putting the whole of the front panel on a hinge to enable access to the machine’s interior.

After drawing around the front panel, I just had to cut out the wholes with a jigsaw, and prime and paint the panel with  black latex paint.  The doors were then attached along the original door hinges and locked closed in the panel.  The doors look great and add a huge amount of authenticity to the otherwise plain machine, and I would recommend to anyone looking to undertake a MAME cabinet build.

Final Assembly
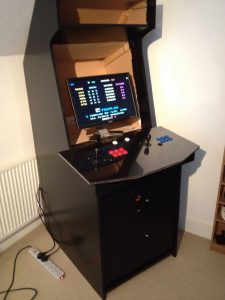
Assembled MAME Cabinet

The cabinet itself needed a bit of a rub down and final coat of paint, as it had been moved around a lot in the last few years.  I was pleased with the final paint finish, which was applied with a small sponge roller using plenty of paint, and looked just right – not too matt, not too shiny, and no brush strokes.

I fitted the recently completed front panel including coin doors using a piano hinge running down the left of the door, required due to the weight of the 16mm MDF.  With the panel in place, all of the major contruction work was now complete and I could take some time to admire my handiwork (and maybe have a few rounds on Snow Bros.).  I’m really pleased at how the cabinet has turned out, but realise I have few jobs to do before it is complete.


I’m also not convinced the monitor is big enough to really make the most of the space available, so I need to look into getting a bigger LCD monitor or TV, which is going to cost but I think will be worth it.

The other remaining jobs on my snagging list include:

Now I’ve got this far I suspect my next update is going to a lot sooner, the end is definitely in sight.
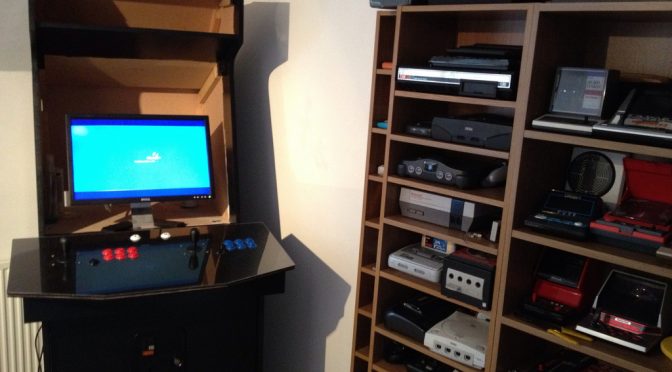
MAME cabinet project update

After dusting off my work in progress MAME cabinet, following a hiatus of about 6 years, I’m determined to get the job completed. After a quick parts inventory I found I actually had most of the bits and pieces I need lying around the house, so set to work.

Cabinet painting

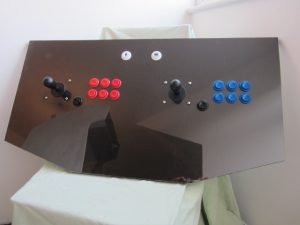
Mame Cabinet Control Panel
Finished Control Panel

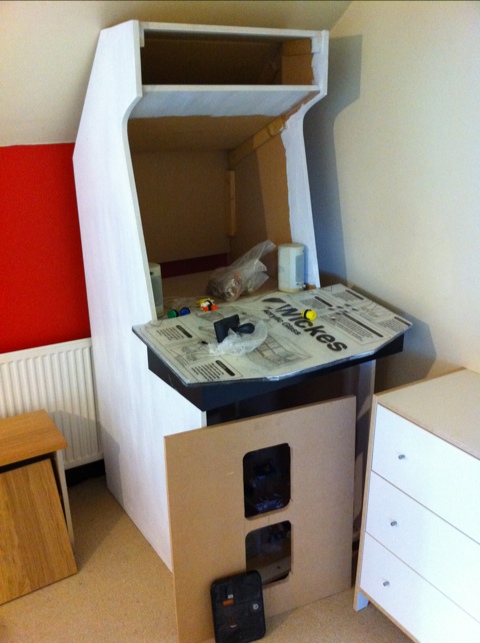
The cabinet itself was half primed, and so just need a quick rub down and the primer applied to the remaining bare MDF surfaces. I then applied the first coat of black latex-based paint that I had used for the control panel – you can see the effect after the first coat below. I used a small paint roller and applied a thin coat to ensure the finish was nice and even. I estimate 3 or 4 coats to do this properly, based on my experience with the control panel. It’s finally starting to look like a proper cabinet!

Control Panel Preparation

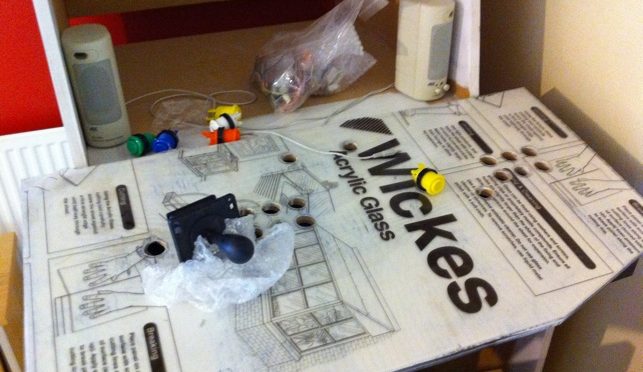
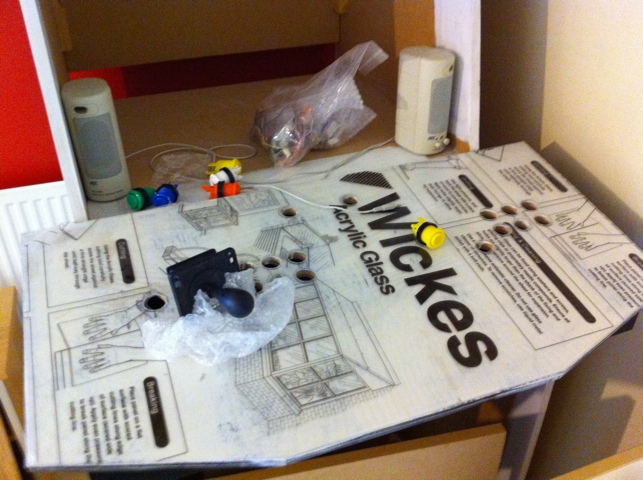
The control panel box had previously been primed and painted, and I had primed the control panel as well as drilling the cut-outs for the buttons and joysticks. The perspex overlay was also drilled, and so I only needed to paint the primed panel with black paint. This also took 4 coats to fully cover the white primer.

I had a mixture of Happ buttons from a kit I previously bought, but not enough of the right colours to complete the two colour red/blue look I wanted. I also needed some flat head bolts to hold the joysticks in place, so I ordered the components from Gremlin Solutions. I also took the opportunity to buy some plastic T-Molding to put around the panel and the exposed machine edges. I had already used a router to create the slot for the molding so this will just be pushed in place when the panel is complete.

On receiving the remaining items I started to assemble, using the buttons themselves to hold the already drilled perspex in place. At this stage I realised the holes were a bit snug, and the paint had reduced the diameter of the holes even further, so a Stanley blade was used to chip away the paint, MDF and perspex. Fortunately the rough edges were hidden by the ridge around each button, but next time I will make the holes slightly bigger! Drilling the holes for the joystick bolts was slightly nerve wracking, as I had to drill directly through the perspex, and a crack at this stage would write off the whole panel, but all went well. Slow and steady and not too much pressure, and the drill just sailed through the perspex layer. The flat bolts also do a great job of holding the perspex in place, without snagging on your hand when using the joysticks.

I’m really pleased with the look of the panel, the perspex gives it a professional looking finish, and the buttons and joysticks feel just right – particularly with the micro switches in place, which give just the right level of resistance.

Wiring the control panel

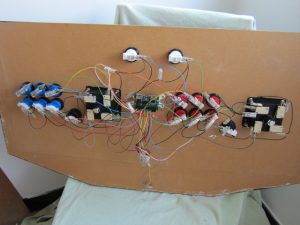
MAME cabinet Control Panel Wiring
Control Panel Wiring

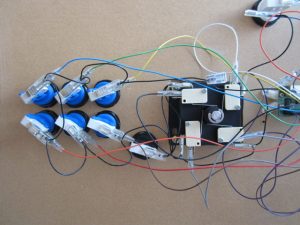
I already had an Ultimarc Minipac control panel interface, which I had previously bought on ebay as part of a kit. The Minipac came with a pre-wired harness, complete with spade connectors to link directly to the micro switches on each button and on the joysticks. Unfortunately my control panel layout was too big for the pre-wired harness, so some of the connections had to be extended using some additional wire acquired from Maplin. The black “common wire” which provides the power to each switch had some extra spade connections so I could stretch this to fit by just missing out a couple. All power to the PCB is through the keyboard interface to the PC, so no external power source is needed.

Although it looks complicated, the wiring process is relatively straightforward, as long as you take your time. It’s a bit if a birds nest at the moment but when I have tested the panel I will use cable ties to tidy up the harness.

Testing the MAME PC interface

With all the button and joystick switches connected, the panel was ready to test. I am using an old Dell Optimpex PC to run MAME, connected to a widescreen LCD monitor which I hope to mount on a swivel stand to allow horizontal and vertical display options without losing screen resolution. The PCB uses a PS2 type interface (the latest versions use USB connectors) so I had to buy a PS2 to PS2 cable on ebay. Powering on the PC, the PCB seemed to light up, but then the light went off. Using the setup software from Ultimarc, the PC did not seem to recognise the joystick movements or button presses, and a reboot did not help.

So I’m leaving this update on a slight cliffhanger (ooh the suspense), I think there may be a jumper missing from the PCB to tell it to

Close up of MAME control panel micro switches
Close up of micro switches

operate in PS2 mode, or it may be the Dell PC or Windows XP not recognising the PS2 connection. At least I have a great looking control panel, and worse case scenario I need to spend £30 on a new board with a USB link.

In my next update I’m hoping to have a working control panel, and finally have the MAME software running.

MAME cabinet project resurrected

In the late 90’s I got hooked on MAME, having found it to be a great way of playing old arcade titles that were no longer available in the flesh. Like many people who start out playing using a PC and keyboard, I soon longed for the feel of a real arcade cabinet. I wanted to play standing up, using a real arcade joystick and buttons to control the play.

So in 2003 my MAME cabinet project was born. After reading John St. Claire’s excellent guide, “Project Arcade”, I used the plans in the book to create my own MAME cabinet.

MAME Cabinet

After buying all of the components online and on ebay, I set about building a test rig to make see if I could get the joysticks and buttons communicating with the PC. Unfortunately the test rig was so much fun I ended up just using this to play MAME, which delayed construction of the cabinet! When I finally got around to building the cabinet, we had our second baby, and the project was put on hold.

20110909-125732.jpg

Fast forward to 2011 and 3 kids later, and I’m looking at dusting off the cabinet shell and resurrecting the build. Its in fairly good state, I have all of the components and even a donor PC. The original SONY TV that I had in mind for a monitor has been ditched for a spare LCD screen I have knocking about, which has the added bonus of being switchable from vertical format to horizontal format. This means I will not be restricted to playing one format of game, or playing in a postage stamp area of a larger screen.

20110909-125630.jpg

So I am hoping this is the first in a series of updates as I complete the MAME cabinet, and that after an 8 year hiatus I will finally get to playing my favourite arcade games on a real machine.