

BAS Arcade Cabinet Restoration – Part 2
Arcade cabinet restoration – the fun stuff
With the major repair work completed on the woodwork, monitor and control panel (covered in part 1) it was time to focus on the cosmetic aspects of the restoration of this BAS Arcade Cabinet.
The cabinet itself was not in really bad shape, but the coin doors and metal trim had suffered from rust which was showing through the paint, and the lighting behind the marquee and coin slot was not working. There was also a very scruffy piece of rubber on the footrest of the cabinet which would need to be replaced. Finally I would need to replace the rubber t-molding which was removed when the cabinet was stripped for repair.
Stripping, Sanding and Painting
Starting with the metalwork, a lot of arcade restorers rely on the services of powder coating companies that will shot blast the old rust and paint away before apply a new powder coat. I decided on the DIY approach as I was interested in the quality of finish I could achieve myself, and if I was not satisfied there was nothing lost. I could always send off to the powder coaters to fix.
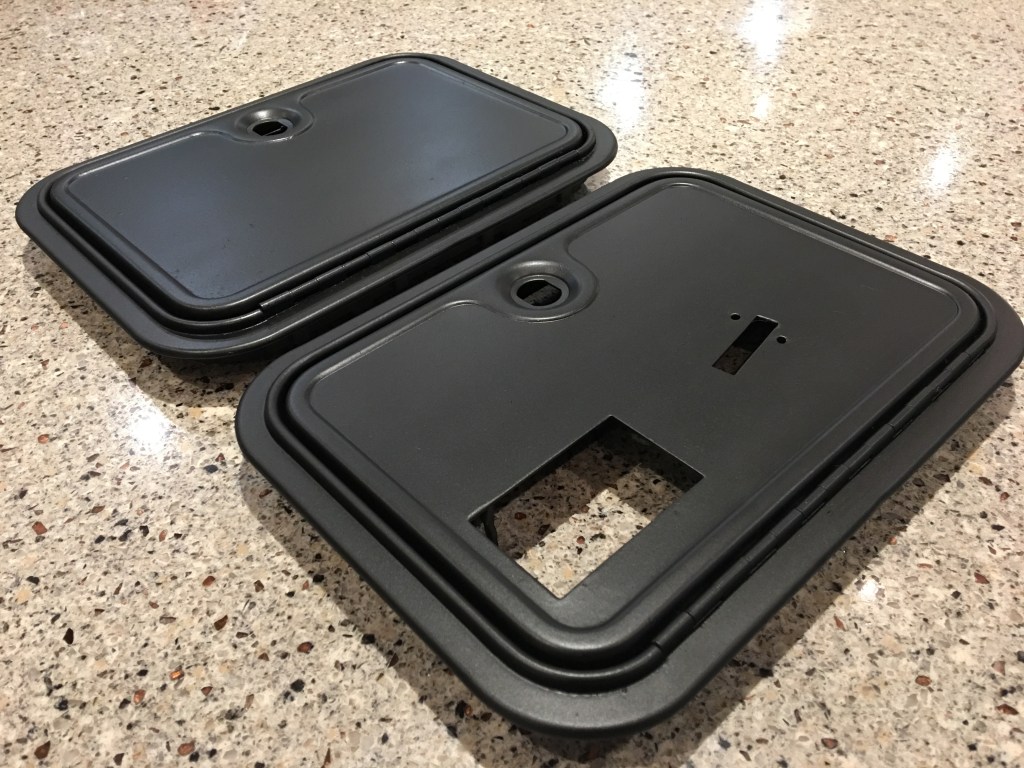
So I began the process of removing the metalwork, which was all conveniently bolted on. Off came the coin doors, metal edge trim and marquee retainers as well as all the various nuts and bolts which would also need to be treated.
My plan was to use a paint stripper to remove the worst of the paint chemically before sanding off the residue and using a rust converter if necessary before priming and painting. As you can see from this picture the stripper paste was very effective on the coin doors, albeit after some experimentation with thicknesses of paste and time left on the paintwork.

The metal trim pieces were a lot easier to treat than the coin doors as the paint was thinner and the surface nice and flat.
After a bit of sanding by hand to remove the rust I applied some rust converter fluid to make sure it wouldn’t bubble up again before preparing for primer. I decided to use PlastiCote as I had heard good things about this paint, and to use standard rattle cans for the best finish without special spray equipment.

Time for painting
I took my time and applied the grey primer as per the instructions in light coats with a short drying period in between. After 24 hours I then sanded to remove any imperfections and give the paint a key for the black topcoat. I selected a satin paint that resembled the original, although some people prefer the crackle type finish you get with Hammerite.


The paint went on smoothly and again I took my time with light coats, and a short drying period in between. At this point I could tell how the doors were going to come out and I was really pleased with the result. It’s not going to be as perfect or hard wearing as a powder coat but it was very satisfying, being my first attempt at metal finishing.

Fitting an LED Marquee Light
I set the freshly painted metalwork to one side to harden off a bit more while I focused on other jobs, the next fix being a new light for the marquee. The original marquee had a fluorescent tube, as did all arcade machines of the era, but I decided I wanted to use LEDs, as they are cheaper, last longer and generate less heat than an old tube. As they are not really visible anyway there is no argument to keep them, even for the purposes of authenticity, as an LED array can generate a similar lighting effect. I chose a pre-made 12V unit built for use as a caravan light, as it would be easy to hook up to a spare output from the existing transformer.
The LED unit fit nicely in the space vacated by the fluorescent tube, attached to an angle bracket with some vecro in case it needed adjustment to get the best marquee lighting effect. I need’nt have worried as the light looked great behind the marquee, which I reattached with the freshly painted retainers. I even treated myself to new black screws as they would be visible under the marquee. Keeping the marquee original was important as it is such a great design, and I plan to use this cabinet as a multi-game unit so want to keep it generic.


Restoring the base of the BAS cabinet
With the marquee in place I turned my attention to the base of the machine, and removed the tatty old rubber matting. I filled all the old screw holes and painted the edges with matt black paint in case any showed through the new matting and metal edge protectors. I then cut some new rubber matting (a bargain at £7 for a 2 meter roll including delivery) and fit it around the base. With the metal edge protectors fitted and new black screws the bottom of the BAS Arcade cabinet looked as good as new.

With the rubber mat replaced and coin doors test fitted the base of the cabinet looks as good as new.

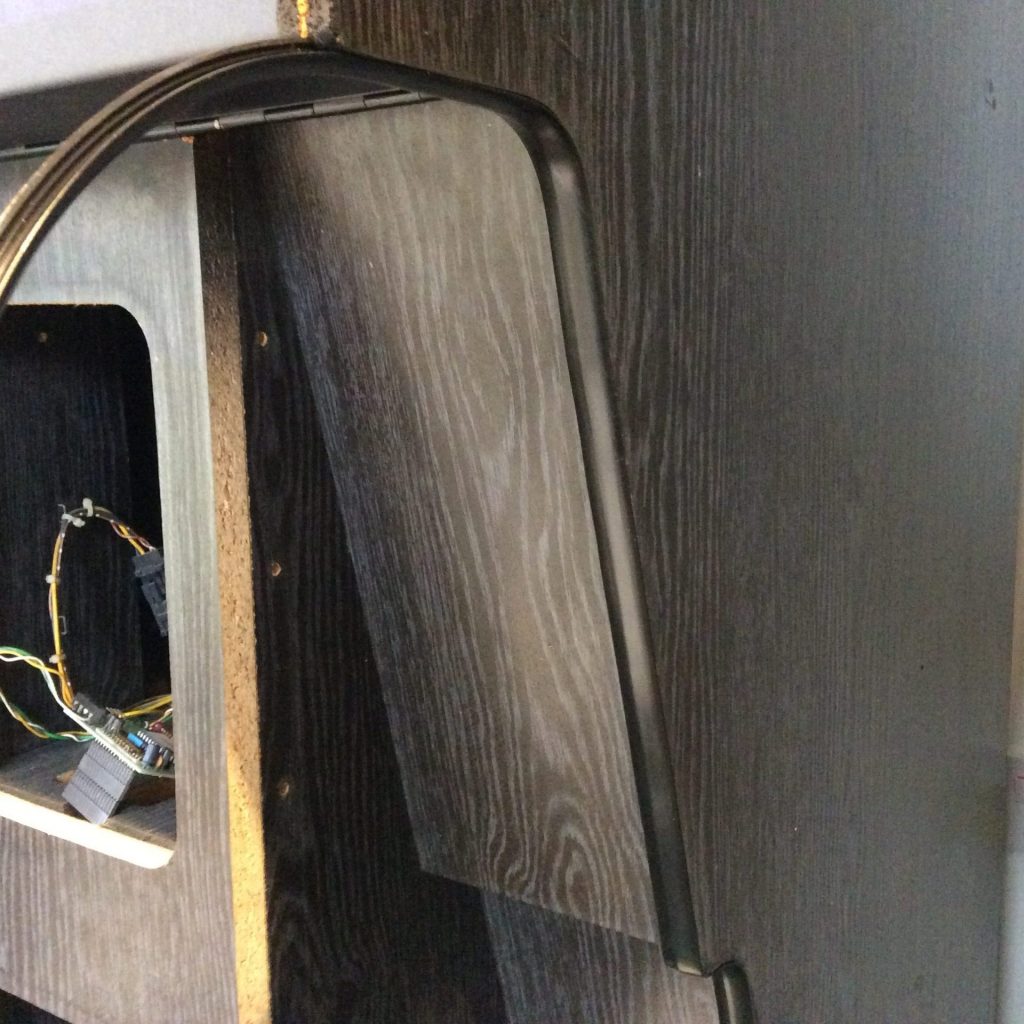
One of the easiest ways to cheaply and easily smarten up a tired arcade cabinet is to replace the t-molding which costs around a £1 per foot, and takes around 30 minutes a side to fit. Once the old t-Molding is removed with the help of a screwdriver blade, the new t-molding is just hammered gently in with a rubber mallet. For any corners, you just need to cut or nick the plastic to allow it to bend properly and for a tight fit.
Finishing Touches to the BAS Arcade Cabinet
The final step was to fit the coin doors, which bolted back on easily and some new locks added, cheap as chips on eBay but make a huge difference to the look of the doors. As you can see the result is an “as new” set of coin doors for the cost of a couple of cans of paint and some elbow grease.

The final touch, which only came to light after I reattached the coin doors, was the lack of lighting behind the coin slot. A trip to Halfords later and I had a new bulb, a common item which is also used for car indicators so easy to source.

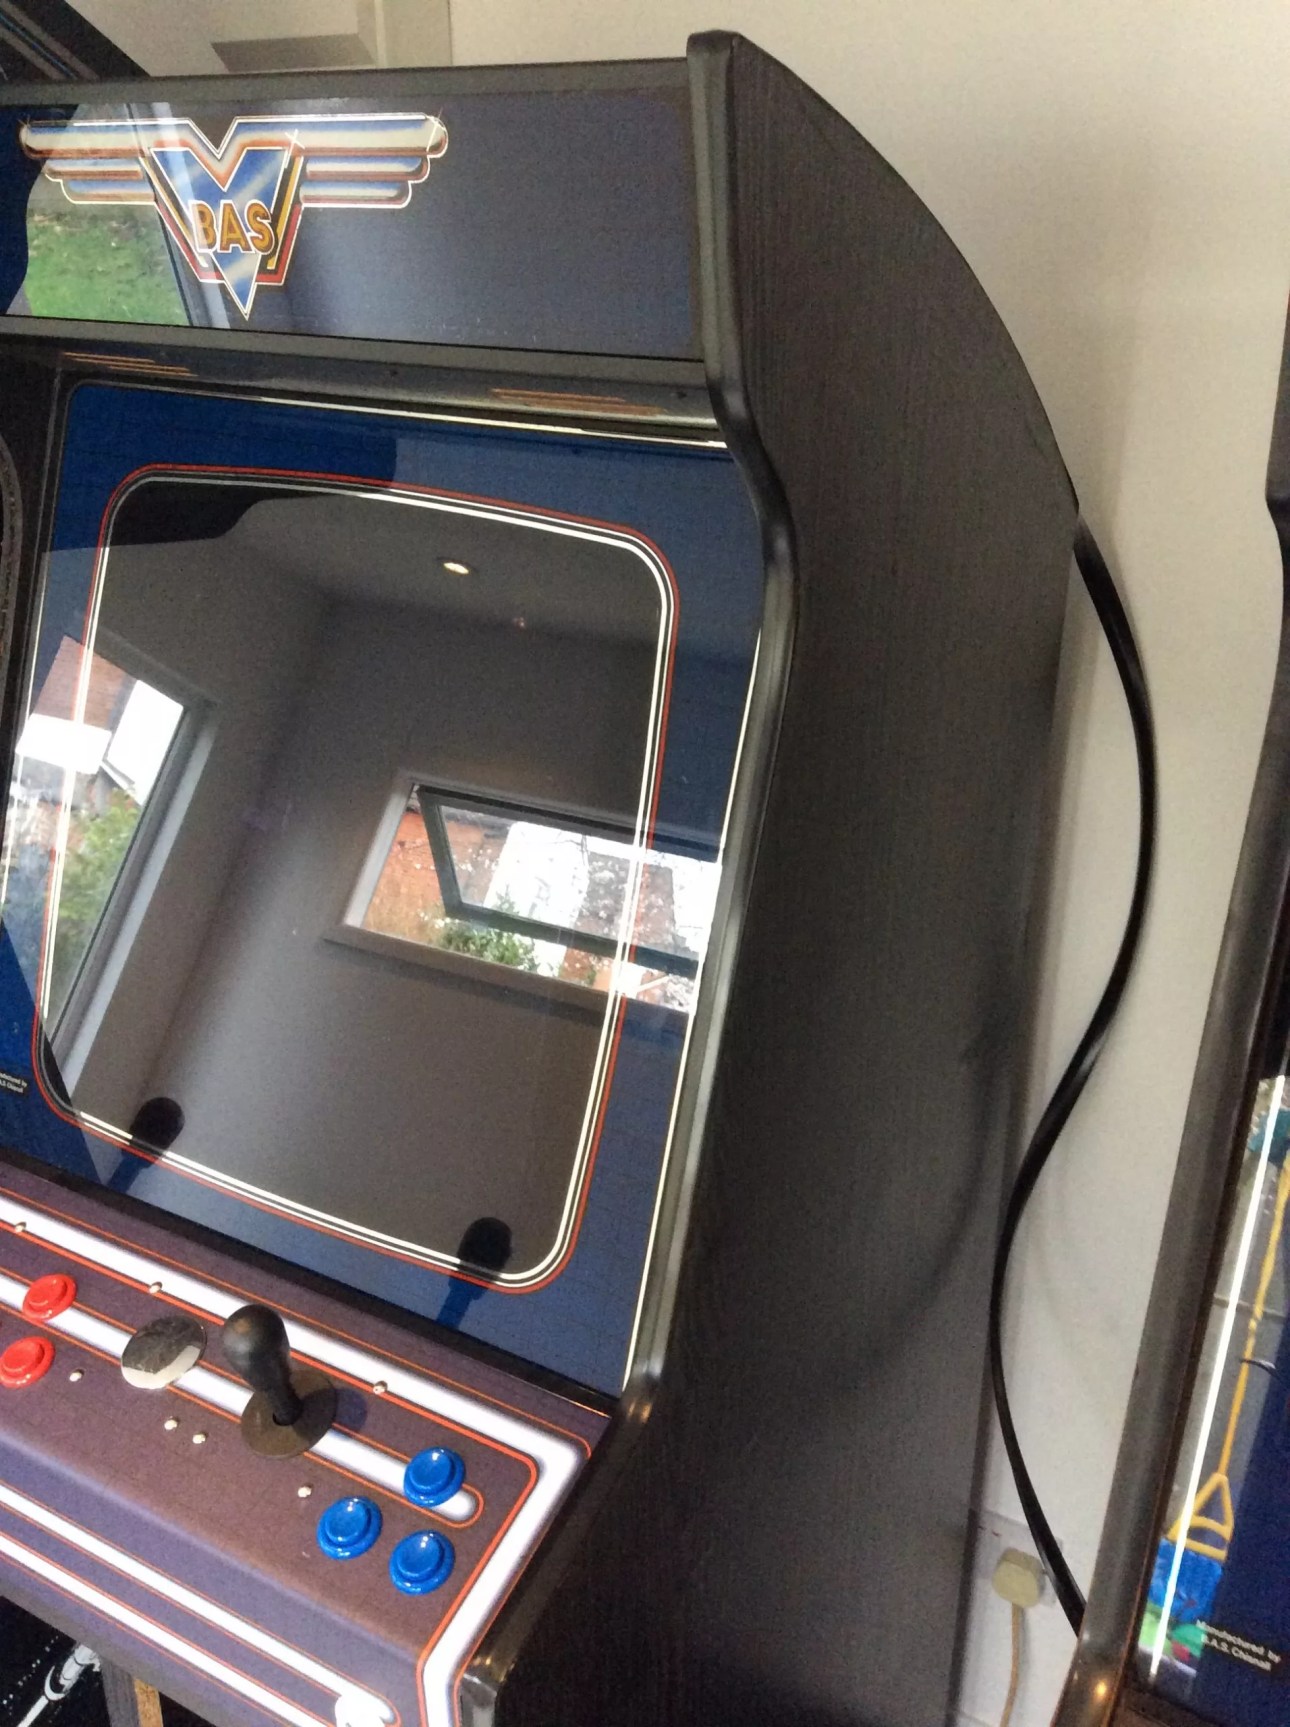
So that’s about it for this project, the BAS JAMMA cabinet is complete and ready for another 30 years of arcade gaming. This will be my “vertical” games cabinet, with a 60-in-1 board for now, while I develop a MAME based solution with access to more classic arcade games.
Now I’ve completed this restoration I much more confident I can tackle a dedicated arcade cabinet, and not make huge mess of an irreplaceable piece of gaming history.


One Comment